Mastering the Art of Mixing Resin: Why Correct Technique is Crucial
Mixing resin might seem daunting at first, but once you master the process, it becomes a repetitive, almost meditative sequence: mix the resin, pour it, pop any bubbles, layer if needed, and let it cure. This seemingly simple routine holds the key to creating stunning, flawless resin art and crafts. Understanding and executing the correct mixing technique is not just a step in the process—it's the foundation for success.
The Basic Steps of Mixing Resin
1. Measure Accurately: Start by measuring the resin and hardener according to the manufacturer's instructions. Precision here is crucial. Too much or too little of either component can lead to sticky, uncured resin or a brittle final product.
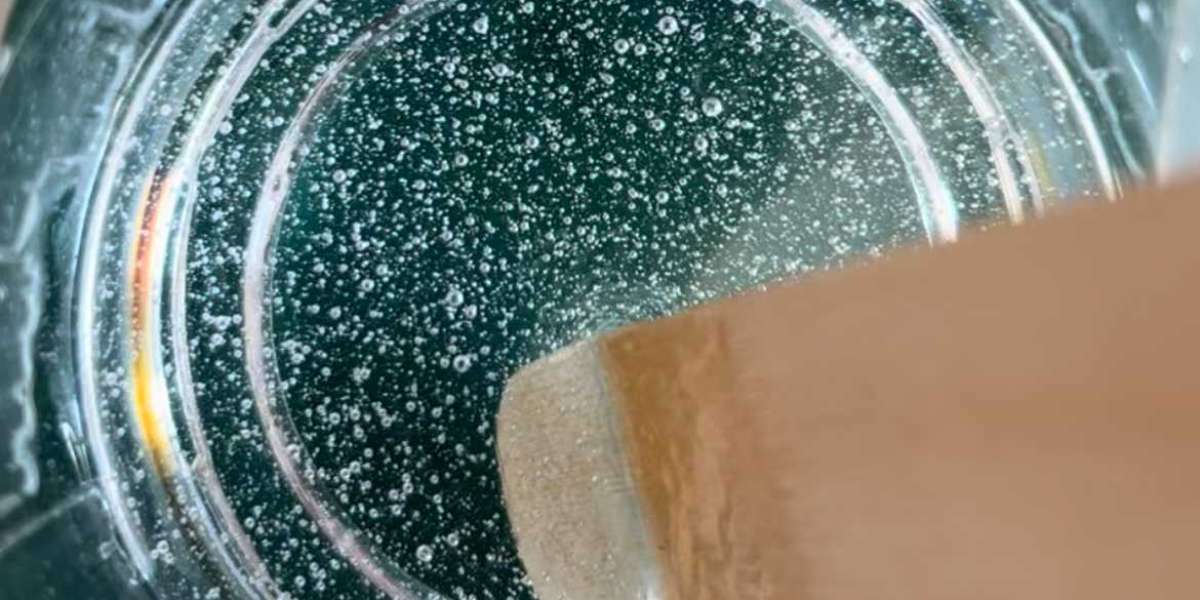
2. Mix Thoroughly: Pour the measured components into a mixing container. Stir slowly but thoroughly, scraping the sides and bottom of the container to ensure both parts are fully combined. The goal is to create a homogenous mixture without introducing excess air.
3. Pour and Spread: After mixing, pour the resin into your mold or onto your surface. Spread it evenly to ensure it reaches all areas.
4. Pop Bubbles: Use a heat gun, torch, or a simple method like blowing through a straw to pop any bubbles that form on the surface. Bubbles can mar the clarity and smoothness of your final piece.
5. Layer if Necessary: For multi-layered projects, let each layer cure partially before adding the next. This layering technique can create depth and dimension in your piece.
6. Let it Cure: Allow the resin to cure completely. This can take anywhere from a few hours to a few days, depending on the type of resin and environmental conditions like temperature and humidity.
The Importance of Correct Mixing
Ensures Proper Curing
The primary reason for mixing resin correctly is to ensure proper curing. Resin cures through a chemical reaction between the resin and hardener. If these two components are not mixed in the right proportions or are inadequately blended, the reaction may not occur correctly. This can result in a sticky, tacky surface that never fully hardens or a brittle, fragile piece that breaks easily.
Prevents Bubbles and Imperfections
Thorough mixing minimizes the introduction of air bubbles, which can be a common issue in resin projects. Bubbles not only affect the aesthetic quality of your piece but can also weaken the structure. Slow, deliberate stirring helps prevent bubbles from forming, and any that do form can be more easily managed and removed.
Achieves a Clear, Smooth Finish
Proper mixing is essential for achieving a clear, smooth finish. Incomplete mixing can result in cloudy or streaky resin. By ensuring that the resin and hardener are fully combined, you set the stage for a crystal-clear final product that highlights the colors, textures, and embedded objects in your piece.
Enhances Durability and Longevity
A correctly mixed resin project is more durable and long-lasting. Whether you are making jewelry, coasters, or a piece of art, the integrity of the resin ensures that your creation will withstand the test of time. Properly cured resin resists scratches, heat, and yellowing, maintaining its beauty and function.
Builds Confidence and Consistency
Learning to mix resin correctly builds your confidence as an artist or crafter. It allows you to approach each new project with the assurance that your basic technique is sound. This consistency is key to producing high-quality work time and again.
Final Thoughts
While mixing resin may initially seem complex, it becomes a straightforward and repetitive process once you understand the importance of each step. Precision, patience, and practice are your allies. By mastering the correct technique, you not only enhance the quality of your resin pieces but also enjoy the creative process without the frustration of failed projects. So, gather your materials, follow the steps diligently, and let your creativity flow through the perfect mix of resin.
Happy crafting!


