
Transform Your Backyard: The Ultimate Guide to Crafting the Perfect Oval Raised Garden Bed!
Gardening is not just a hobby; it's a way to connect with nature, cultivate fresh produce, and create a serene retreat right in your backyard. One of the most rewarding projects you can undertake as a home gardener is building an oval raised garden bed. These unique structures not only enhance the aesthetics of your garden but also provide several practical benefits, such as improved soil drainage, easier access for planting and maintenance, and better microclimates for your plants. In this comprehensive guide, we'll explore detailed plans and instructions for crafting the perfect oval raised garden bed, ensuring that you have everything you need to embark on this fulfilling journey. Whether you’re a seasoned gardener or a complete novice, the joy of nurturing your own plants awaits!
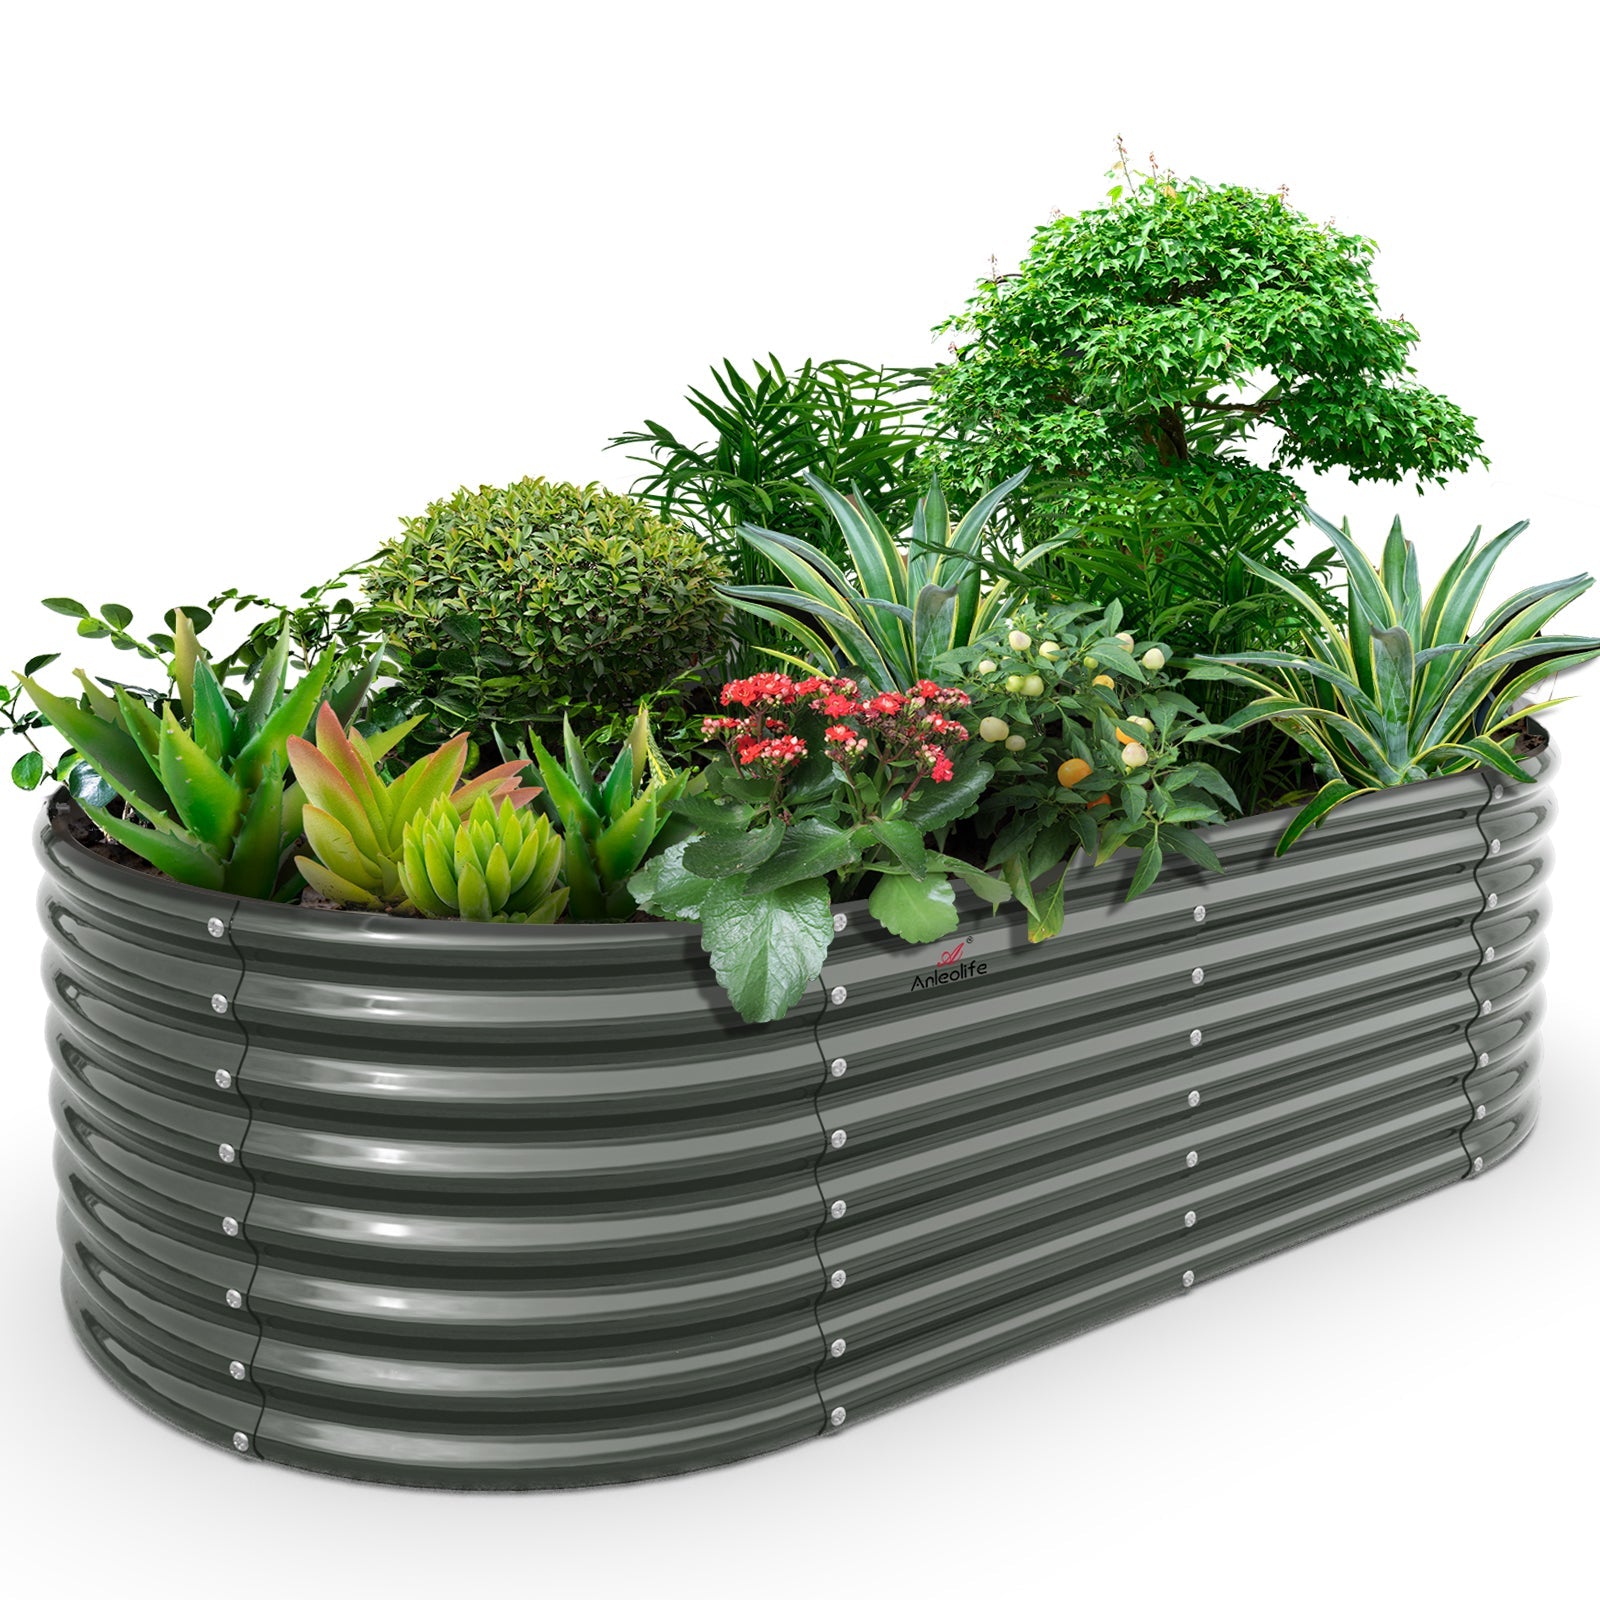
Understanding Oval Raised Garden Beds
Oval raised garden beds are a delightful twist on traditional rectangular garden beds. Their rounded edges not only provide a softer, more inviting look but also make them easier to navigate and maintain. Unlike typical box-shaped gardens, the oval shape allows for better air circulation and sunlight exposure, which is essential for healthy plant growth. They can also be designed in various sizes, making them versatile for any backyard space. The aesthetics of an oval bed can enhance the overall beauty of your garden, creating a focal point that draws the eye. Additionally, oval raised beds can provide ample growing space while minimizing the amount of soil needed, making them a practical choice for gardeners looking to maximize their yield without excessive effort.
Planning Your Oval Raised Garden Bed
Before you dive into construction, careful planning is crucial to ensure your oval raised garden bed thrives. Start by selecting the right location: look for a spot that receives at least six hours of sunlight daily. It's also important to consider drainage; avoid low-lying areas that may accumulate water after heavy rain. Once you’ve pinpointed the ideal spot, measure the area to determine the size of your bed. A common dimension for an oval raised garden bed is 4 feet wide by 8 feet long, with a depth of 12-18 inches. This size allows for plenty of planting space while remaining manageable for maintenance. Additionally, think about soil selection—choosing a mixture of topsoil, compost, and organic matter will create a nutrient-rich environment for your plants. And don't forget to plan your planting strategy; companion planting can be highly beneficial in maximizing space and promoting plant health.
Materials and Tools Needed
To ensure your oval raised garden bed stands the test of time, selecting quality materials is paramount. For the frame, untreated cedar or redwood is ideal due to their natural resistance to rot. If you prefer an alternative, composite materials are also an excellent choice for longevity. You will need the following tools for construction: a saw (hand saw or power saw), measuring tape, level, drill, screws, and a hammer. Having a shovel and garden gloves on hand will also make the process smoother. Remember, investing in durable materials and proper tools will save you time and effort in the long run, allowing you to enjoy your gardening space for years to come.
Step-by-Step Instructions for Building Your Oval Raised Garden Bed
Building your oval raised garden bed can be a rewarding DIY project. Start by laying out the design on the ground using garden stakes and string to outline the shape. Measure carefully to ensure symmetry. Once you have your layout, cut your wood to size based on your measurements. Assemble the frame by joining the ends of the boards using screws, creating a sturdy structure. It's helpful to use a level to ensure your frame is even. After assembling the outer frame, reinforce the structure by adding corner supports if necessary. Next, prepare the area where the bed will sit by clearing any grass or weeds and leveling the ground. Place the bed in position and fill it with a rich soil mixture, ensuring it's packed down but not overly compacted. Finally, add your chosen plants, spacing them according to their growth needs, and water them thoroughly. With each step clearly outlined, even a novice can create a beautiful oval raised garden bed that enhances their backyard.
Planting Tips and Maintenance
Once your oval raised garden bed is constructed and filled with soil, it’s time to plant! Consider starting with easy-to-grow vegetables such as tomatoes, peppers, or herbs like basil and parsley. Incorporating companion plants—such as planting marigolds alongside vegetables—can help deter pests and promote healthier growth. Regular maintenance is key to a thriving garden; ensure you water your plants consistently, especially during dry spells. Weeding should be done weekly to prevent competition for nutrients. Seasonal care, such as mulching in the spring and preparing for winter, will also enhance the longevity and productivity of your garden bed. Remember, the more you care for your garden, the more rewarding it will be!
Final Thoughts on Building Your Oval Raised Garden Bed
Building an oval raised garden bed is not just about creating a space for plants; it’s an opportunity to nurture life, express creativity, and enjoy the fruits of your labor. The benefits of these unique garden beds—such as improved aesthetics, better drainage, and easier access—make them an excellent choice for home gardeners. As you embark on your gardening journey, remember the sense of accomplishment that comes with DIY projects and the joy of watching your plants flourish. So gather your materials, follow the steps outlined in this guide, and transform your backyard into a beautiful garden sanctuary!